Design a Holiday Card
PR0 Challenge 4.3 [160pts]
In this challenge you will design an animated holiday greeting card using Scratch to program the animation and it's response to inputs.
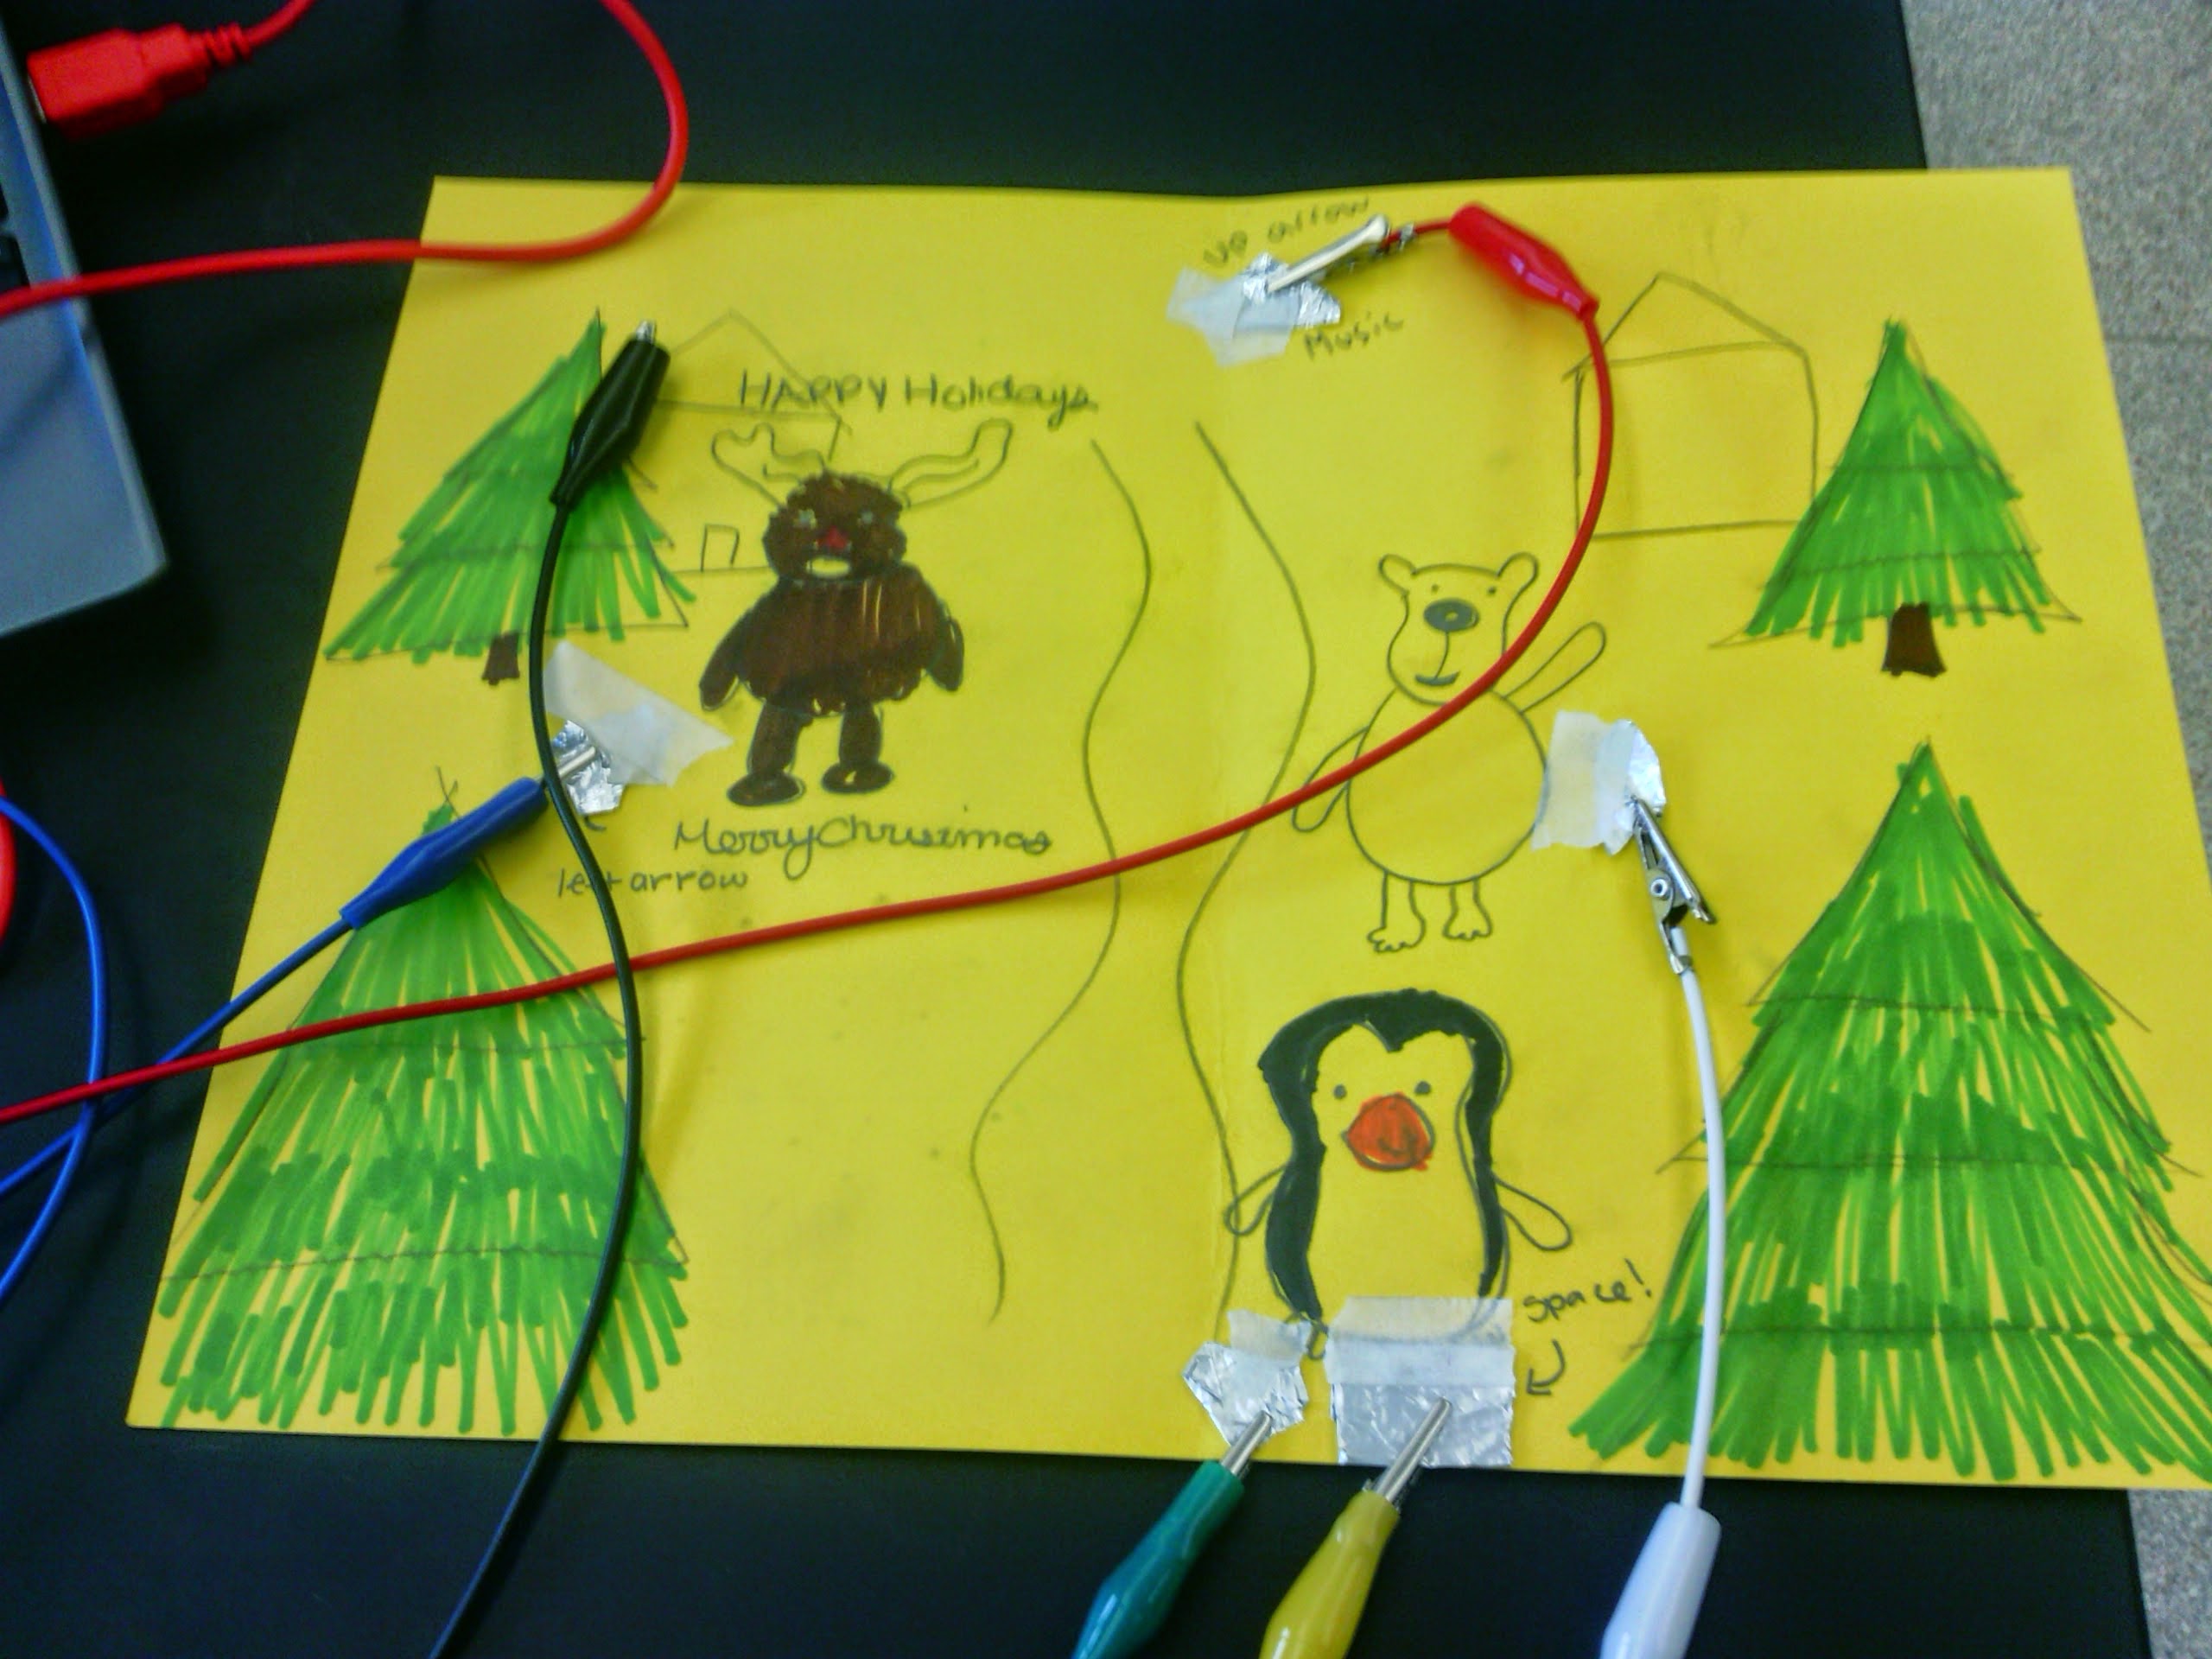
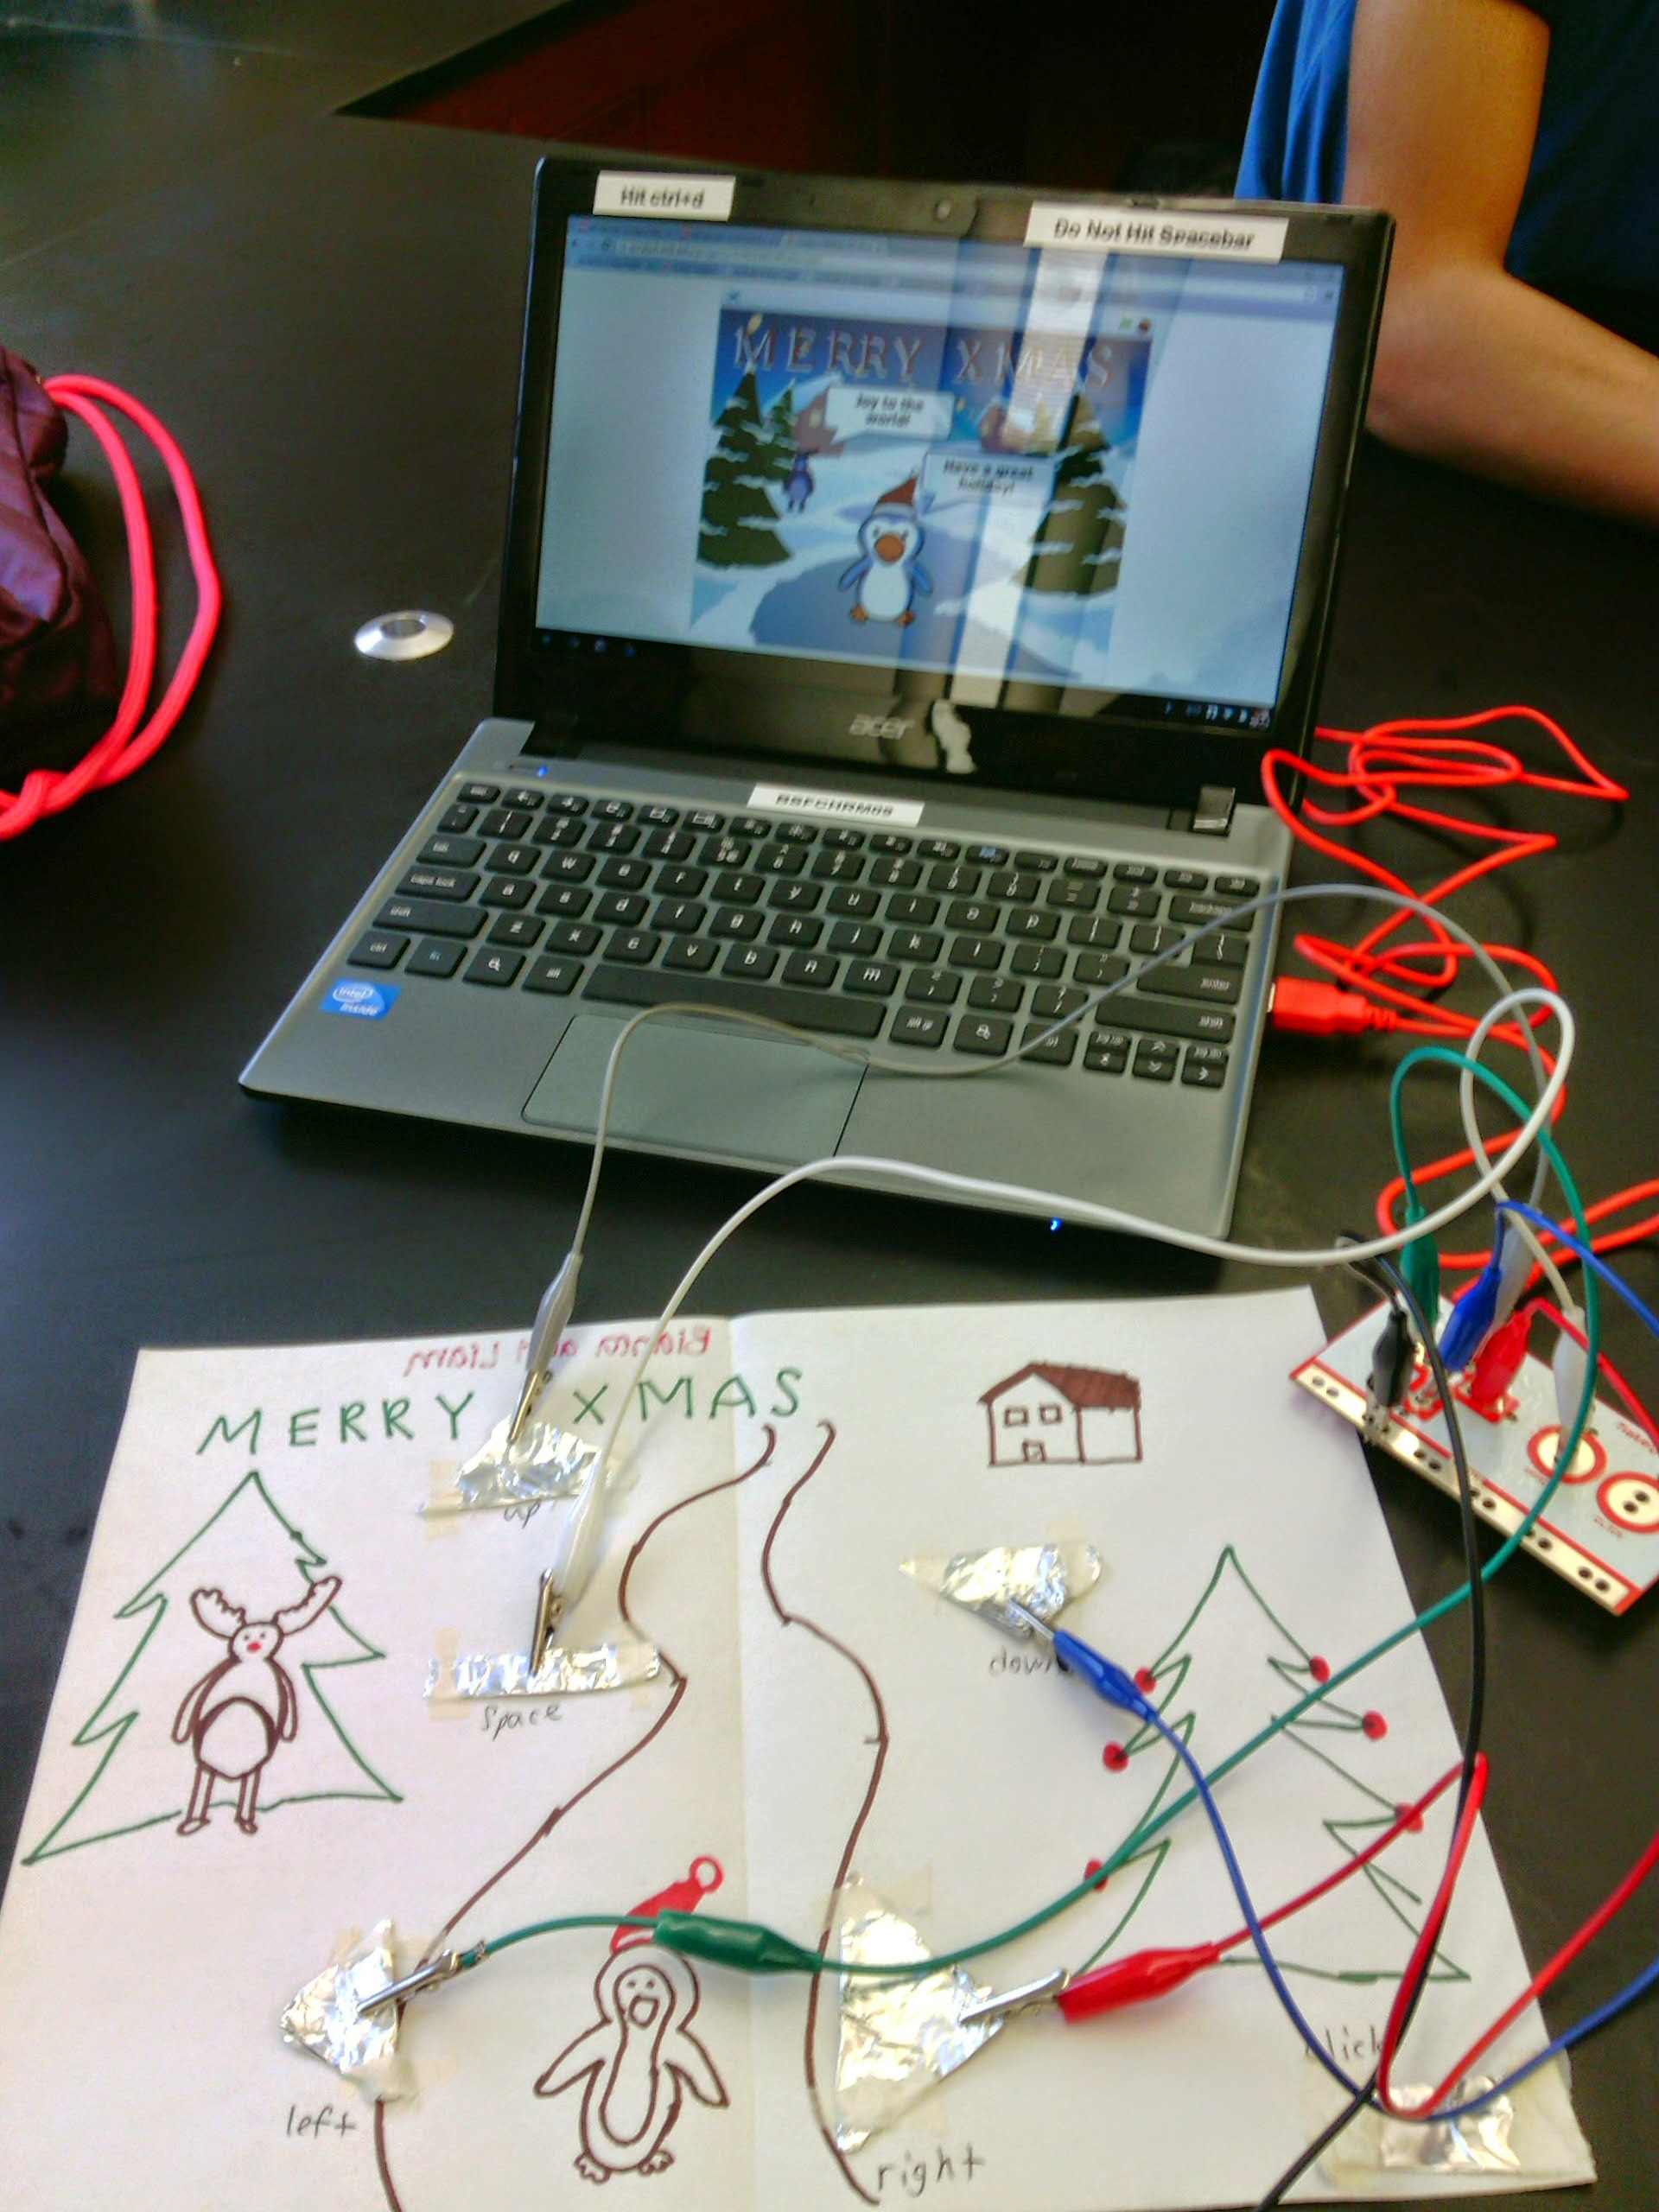
Then you will construct a physical (paper) recreation of the same card using posterboard, foil, construction paper, tape, and glue.
Finally you will wire it up to the MaKey MaKey so make the physical card control the digital one!
We will be using the Scratch Design a Holiday Card tutorial developed for the Hour of Code.
STEP 1: Design A Digital Holiday Card with Scratch
Follow the “Design a Holiday Card" tutorial:
You will find the instructions on the right hand side of the window under a section titles “Tips”. When you finish doing what they tell you to, click on the blue “>” at the bottom to move onto the next page.
Make sure to:
- login to Scratch using
stemscholar-bsf; - give your project a title;
- save your work and make it public;
STEP 2: Deck the Halls!
Your Scratch holidy card must feature at least 5 different animations! That means there must be at least five different things that happen when you click on the screen, a character, or hit a key on the keyboard. You can:
- Make music play;
- Make your sprites speak with speech bubbles;
- Make your sprites move around;
- Make your sprites change color or costume;
- Anything else you can think of;
Need some inspiration? Here are some examples of cards that I think are AWSM!
STEP 3: Design A Physical Holiday Card to Match
Interacting with your Scratch animated Holiday card using a keyboard is snoozeville. While keyboards, gamepads, joysticks, and other input devices provide a standard input that makes it easy for folks to learn and for developers to design for, they don't leave much room for imagination.
What if the controls were customized to the digital experience?
What if any physical object could control a digital one?
Use the materials provided, or those available to you, to recreate the digital animation in physical form. In the next step, we'll wire that up to a MaKey MaKey.

STEP 4: Connect the MaKey MaKey
Once you've got the physical card looking decent, but maybe before it's completely done, you're ready to make the connection between the physical world and the digital one.
In Challenge 3.2 we learned that the MaKey MaKey interupts the normal keyboard function (or rather, it acts as a keyboard) and the keys are activated when a circuit is completed (through your body) between the Earth (or ground) and a key when a connection is made by pressing or touching both of them.
How can you use a conductive material like aluminum foil on your greeting card to make the connection when you touch the greeting card? Be creative!

STEP 5: Document and Share
Publish your work by remixing the Thimble worksheet from Challenge 3.2.
- Take some pictures of your completed holiday card
- Embed the Scratch project into your Thimble make.
- Change the worksheet colors and background to make it more festive!

